
Free Sewing Measurement Chart: Write Your Numbers Down Once
The pattern envelope says size 14, the size chart says 16 at the bust and 12 at the hip, and by the time you compare the pattern, you cannot remember which measurements you wrote down. A sewing measurement chart takes care of the boring part: every body measurement on one dated page, ready to hold next to each new pattern’s size chart.
The free PDF below lists 23 body measurements in two groups, upper and lower body, each with a short note on where the tape goes. Next to every line are three columns: your number, the matching body measurement from the pattern’s chart, and the difference to assess. It prints on one page in US Letter or A4.
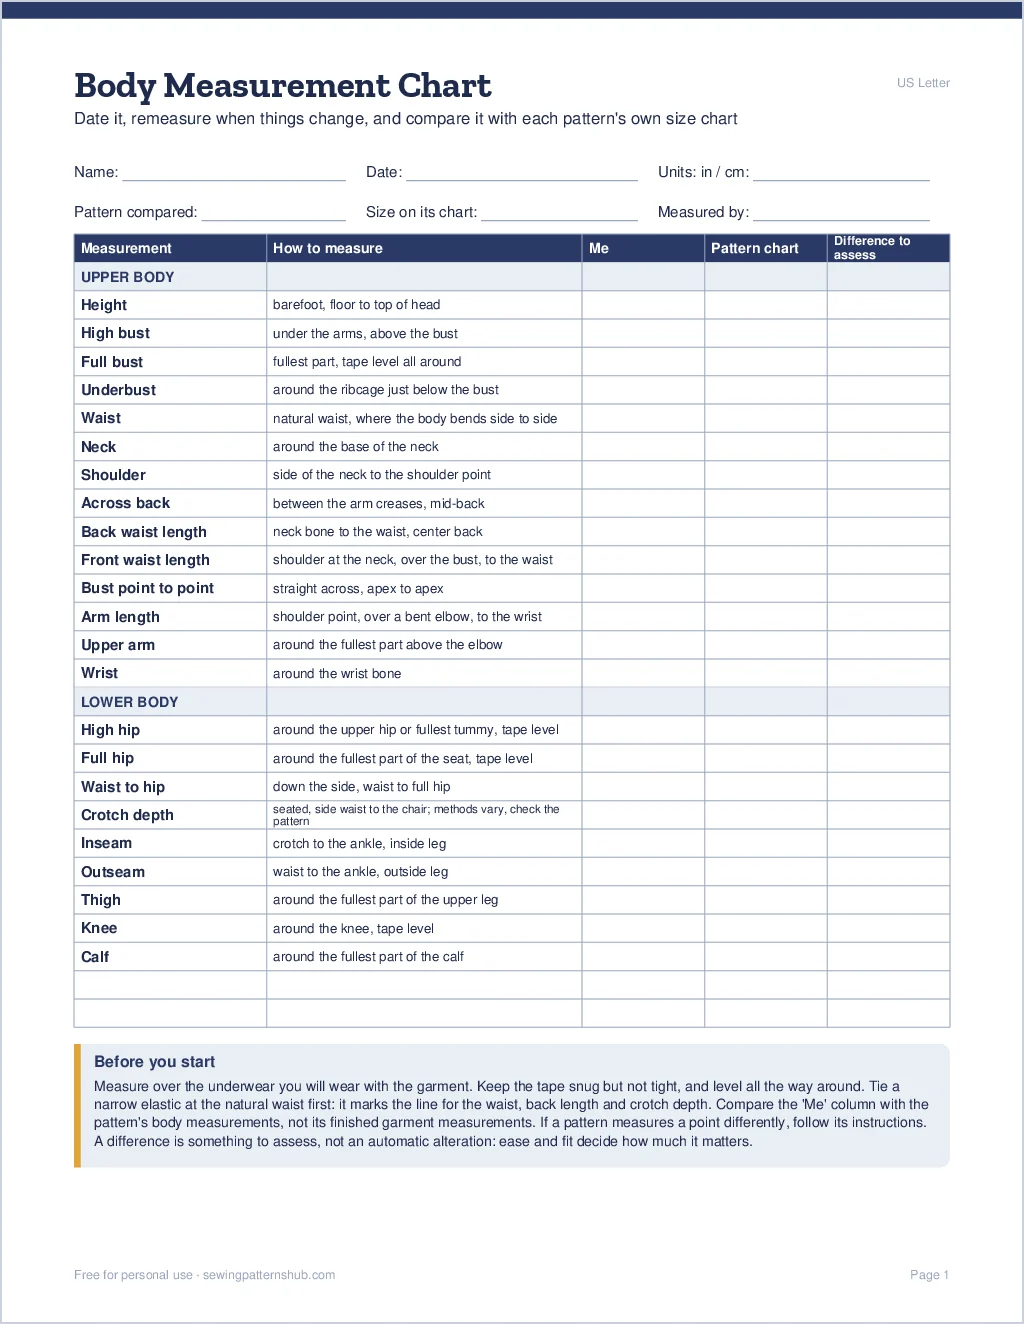
Free sewing measurement chart (PDF, 1 page)
Free for personal use. Print at 100% (Actual size), not Fit to page.
How to Fill In This Free Sewing Measurement Chart
- Print the page and grab a soft tape measure. A helper makes the back measurements easier: back waist length, across back and shoulder are hard to take on yourself.
- Wear the underwear you will wear under the finished garment and tie a narrow elastic around your natural waist. If you are not sure where that is, bend to one side: the crease that forms is a good guide.
- Keep the tape snug but not tight, and level all the way around for bust, waist and hip. Fill in the Me column in one unit, circle in or cm at the top and write the date.
- When you start a pattern, write its name at the top, copy the relevant body measurements from its size chart into Pattern chart and note the gap under Difference to assess, for example “+1 in at hip”. A difference is not an automatic alteration: ease and the style of the garment decide how much it matters.
The two blank rows at the bottom are for anything a pattern asks for that is not on the list, such as head size for a hat. If a pattern measures a point differently from the notes on the sheet, follow the pattern’s instructions.
Which Lines Matter for What You Sew
- Tops and dresses: high bust, full bust, waist, back waist length, shoulder and arm length. Some pattern companies tell you to pick the size for tops by the high bust and then adjust for a fuller bust; each pattern’s instructions say which measurement it uses.
- Skirts: waist and full hip, plus waist to hip for where the curve of the side seam sits.
- Pants and shorts: waist, full hip, crotch depth, inseam, outseam and thigh. Crotch depth is useful when checking where the pattern is intended to sit, but use the pattern company’s measuring instructions, because rise terminology varies.
- Bags, pillows and quilts: usually no body measurements, only the finished size of the item, which is one reason they can make approachable first projects.
Body Measurements or Finished Garment Measurements?
Most size charts list body measurements, and many PDF patterns also print finished garment measurements. The gap between the two is ease: a relaxed top can be several inches bigger than the body at the bust, while leggings in stretch fabric are often smaller than the body. Compare the Me column with the body chart to choose the size, then read the finished measurements to see how loose or close the result will be.
Between Two Sizes?
Landing in one size at the bust and another at the hip is common. On many multi-size patterns you can blend gradually between the marked size lines, but follow that pattern’s grading guidance and make the same change on every affected piece. Write the plan on the sheet, such as “14 at bust, blend to 16 at hip”, so the reasoning is there next time.
Length needs the same care. If your back waist length differs from the pattern’s, use its lengthen and shorten lines and fitting guidance rather than assuming the full difference belongs in one place, and settle it on paper before any fabric is cut.
Measurement Chart Questions
How often should I measure again?
Before a closely fitted project, or after a noticeable change in weight or shape. The Date field at the top of the chart tells you how old the numbers are.
Inches or centimeters?
Use the unit your patterns use. Many US patterns list inches and many European ones centimeters. Keep one unit per chart; 1 inch is 2.54 cm if you need to convert a single number.
Does it work for menswear and kids’ patterns?
Yes, because the rows are body measurements, not sizes. Skip the lines a pattern does not use, such as bust point to point for menswear, and note that many kids’ size charts start from height, which is the first row.
Can I take my measurements alone?
You can take several circumference measurements alone in front of a mirror, such as bust, waist, hip and upper arm. Inseam, shoulder, across back and back waist length are usually more reliable with a helper, because twisting to see the tape changes the number.
Keep the Sewing Measurement Chart With Your Patterns
Keep one current sewing measurement chart per person, dated, in the folder where your printed PDF patterns live, and remeasure before a closely fitted project or after a noticeable change. When a new pattern uses a different measuring point or sizing method, follow that pattern first and record the difference rather than overwriting your body measurement. The waist and hip lines are the ones the skirt sewing patterns on this site ask for first.
You May Also Like
The PDF is free for personal use; please share a link to this page rather than the file. Pattern roundups linked from this page may contain affiliate links. Learn more.