How to Sew a Pot Holder in 6 Steps, with Top Heat Tips and 3 Patterns to Compare
The pot holder by the stove has a scorch mark in the middle and a thin spot exactly where your thumb goes, and you only notice when you grab a hot pan. Replacing it is a small sewing job. A good pot holder pattern tells you which layers go inside, because the batting matters more than the pretty fabric on top.
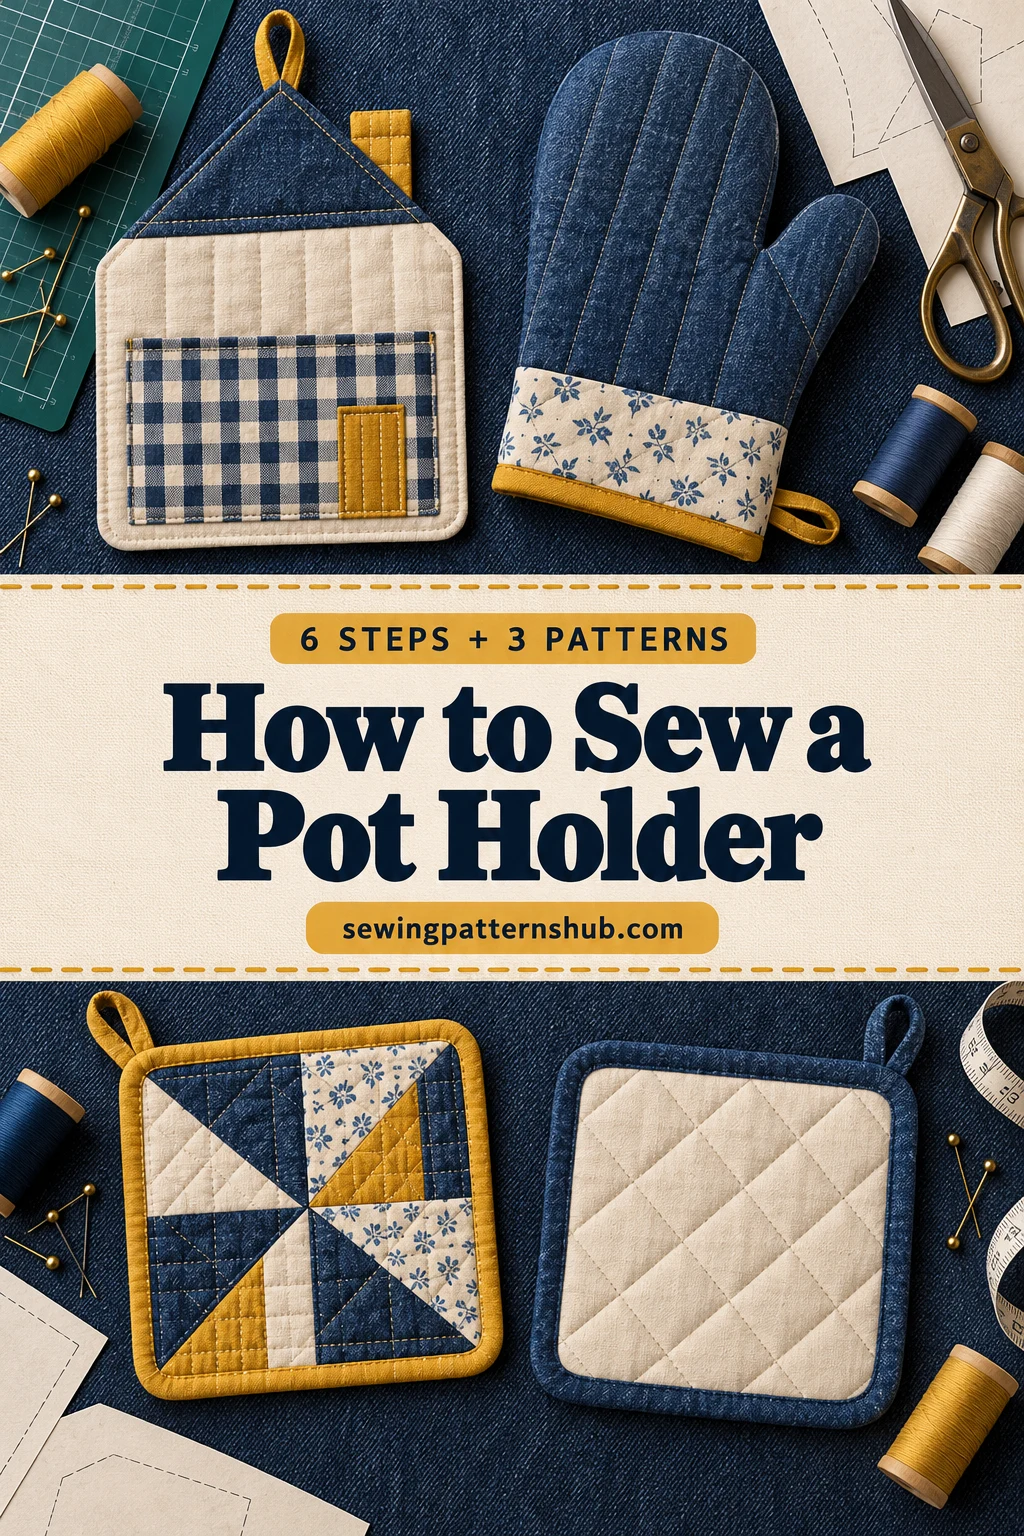
So this page starts with the method rather than a product list. Six steps take one quilted pot holder from cut layers to a hanging loop, followed by the heat checks worth doing before first use. Three patterns to start from come after that, each read for what it says about the heat layer.
What Goes Inside a Pot Holder
The outside is the easy part. Protection comes from the middle: an insulated batting that is heat resistant, such as Insul-Bright, sandwiched between two layers of 100 percent cotton batting, which is what its maker, The Warm Company, recommends for pot holders. For an oven mitt the maker allows one cotton layer to make sewing easier, placed closest to the hand. Cotton batting on its own gives much less protection from oven heat, so plan on the insulated layer too.
Every fabric you can touch should be cotton or another natural fiber, such as quilting cotton, linen or a light cotton canvas. Polyester and other synthetics can melt when they meet a hot pan, and that includes polyester batting, fleece, the filling of many pre-quilted fabrics and a lot of ready-made bias tape. Read the fiber content on the label before a layer goes into the stack.
Insul-Bright itself is made of polyester fibers around a reflective film, which is why it is always enclosed between cotton layers and never used as an outside layer. Keep the finished piece out of the oven and the microwave; the maker does not recommend its battings for microwave use.
Materials for One 8 Inch Square
An 8 inch finished square is a common pot holder size, large enough to cover a palm and a pan handle. Cut the layers a little bigger and trim after quilting, because quilting draws the layers in and the edges shift.
- Two pieces of 100 percent cotton fabric, about 10 x 10 inches, for the front and back
- One piece of insulated heat-resistant batting, about 10 x 10 inches
- Two pieces of 100 percent cotton batting, about 10 x 10 inches each
- About 45 inches of cotton binding: strips 2 1/4 to 2 1/2 inches wide pressed in half, or 1/2 inch double fold bias tape, with the extra going into the hanging loop
- Thread, pins or clips, a ruler and rotary cutter if you have them, and a walking foot if your machine takes one
How to Sew a Pot Holder in 6 Steps
- Cut. Cut the two fabrics and all three batting pieces to the same size. If you sew from a printed pattern, follow its piece list instead; the house design below has its own Insul-Bright pages.
- Stack the layers. Build a small quilt sandwich: backing fabric face down, one cotton batting, the insulated batting, the second cotton batting, then the top fabric face up. Pin or clip through all five layers, or baste with a temporary basting spray or a glue stick, used as its label directs and left to dry completely.
- Quilt. Stitch straight lines through every layer, a grid or parallel rows across the square, so nothing shifts in the wash. A walking foot helps the thick stack feed evenly; lengthen the stitch a little if the machine struggles.
- Trim. Square the piece to 8 inches with a ruler, and round the corners with a saucer if you prefer curves. A zigzag or a basting stitch close to the raw edge keeps the layers together for binding.
- Bind. Sew the binding to the front with raw edges matched, about 1/4 inch from the edge, fold it over to the back and stitch it down close to the fold. Bias-cut binding bends around rounded corners; straight strips are fine on a square with mitered corners. Machine stitching holds up to repeated washing better than hand stitching.
- Add the hanging loop. Either fold a 4 to 5 inch strip of binding in half and baste its ends into one corner before the binding goes on, or leave a tail of binding at the last corner, stitch its open edge closed and fold it back on itself into a loop.
Before It Touches a Hot Pan
- Test a new pot holder on a warm dish first and notice how fast heat comes through. A home test like this is only a rough check: it does not certify the protection and says nothing about very hot cookware.
- Use it dry. A damp or wet pot holder passes heat to the hand much faster, and steam can burn.
- Keep it away from gas flames and hot burners: cotton does not melt, but it scorches and can catch fire.
- Treat it as protection for a quick grab, not for holding a hot pan for minutes.
- Retire it when there is a scorch mark, a thin spot where the thumb goes or batting you can feel through the fabric.
Three Pot Holder Pattern Options to Start From
Most of what Creative Fabrica lists under this name is crochet, so the sewn shortlist is short. Each card says what the listing and its cover tell you about heat layers, because only one of the three names Insul-Bright outright.
Left out: a child's oven mitt made for pretend play, whose listing calls it an apron pattern twice; a Christmas oven mitt that needs an embroidery machine; crochet pot holders; and SVG pot holder designs meant for printing, not sewing. A free video class on a quilted pot holder is on Creative Fabrica too, but its page names only batting, not a heat-resistant layer.
TL;DR: Three patterns for the real kitchen: a house-shaped pot holder with a hand pocket and Insul-Bright pieces in two sizes, a one-size oven mitt whose instructions call for an unnamed insulating fleece, and a square pot holder tutorial that layers an insulating fabric between fleece, which I would swap for cotton batting.
- House Kitchen Potholder – Best pot holder
- Oven Mitt Sewing Pattern – Best oven mitt
- Square Potholder Sewing Tutorial – Best square tutorial
Best pot holder
1. House Kitchen Potholder
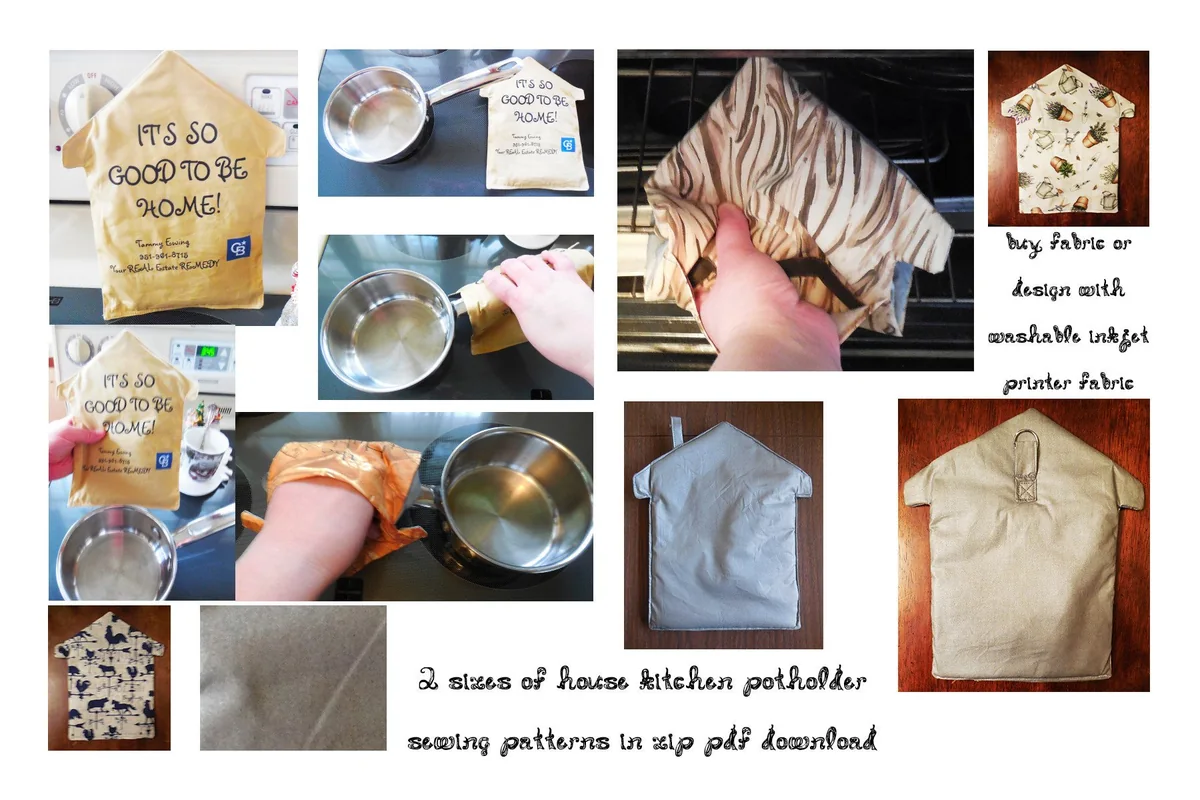
Best for: a house-shaped pot holder with a pocket for your hand. Designed by fabricatedframescom.
- 2 sizes: 8 x 10 in and 9 1/2 x 11 in
- Pocket panel for your hand to slide inside
- 11 pages, with Insul-Bright pattern pages for both sizes
- 4 ways to hang it: loops, a buttonhole or a removable strip
The only listing here that names Insul-Bright: each size has its own pattern piece for Insul-Bright, though the full stack of layers is left to you. Your hand slides into a pocket panel, and the listing gives four ways to hang it.
Best oven mitt
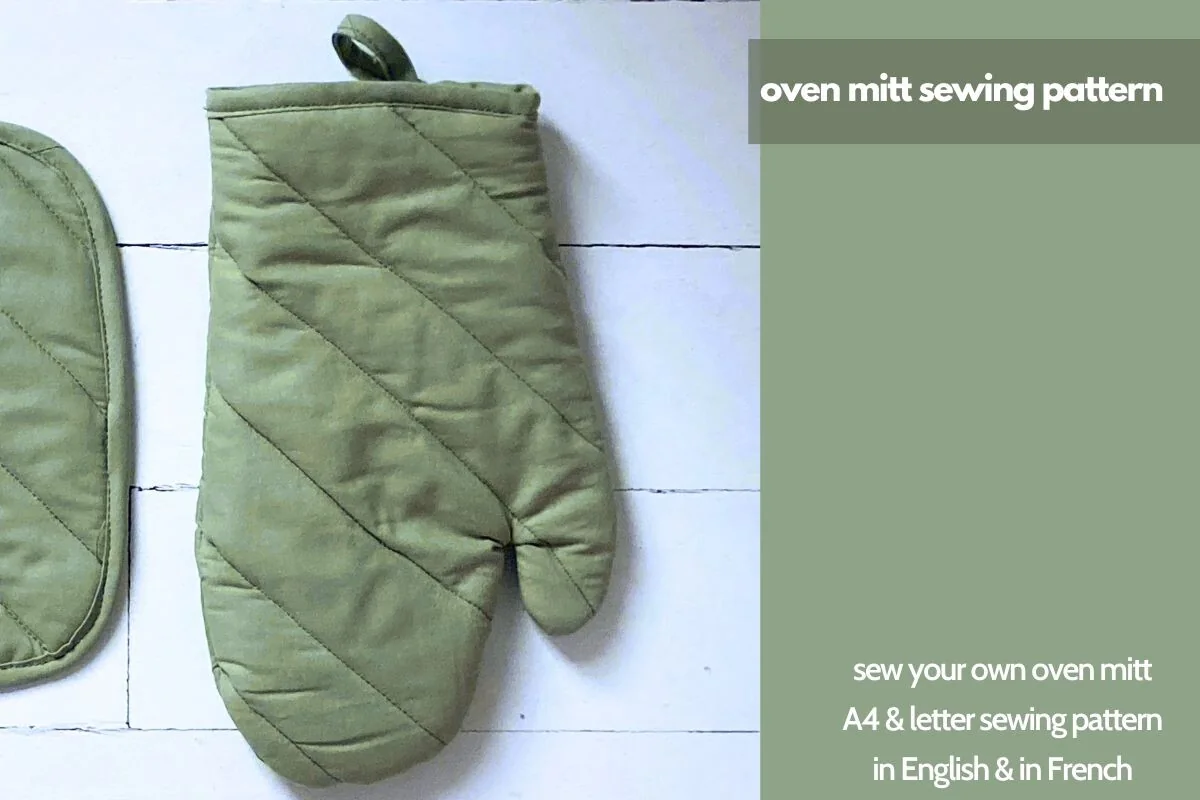
2. Oven Mitt Sewing Pattern
Best for: a quilted one-size oven mitt; the listing suggests scraps for a matching pot holder. Designed by Petit Citron.
- One size, per the instruction page on the cover
- Outer fabric, insulating fleece and lining, quilted in lines
- A4 and US Letter, with or without seam allowance
- Instructions in English and French
Treat this one as a mitt shape with clear steps. The instruction page on the cover stacks lining, an insulating fleece and the outer fabric, then quilts them, but the listing never says which fleece. Choose the heat layer yourself: Insul-Bright with cotton batting on the hand side, a setup its maker allows for mitts.
Best square tutorial
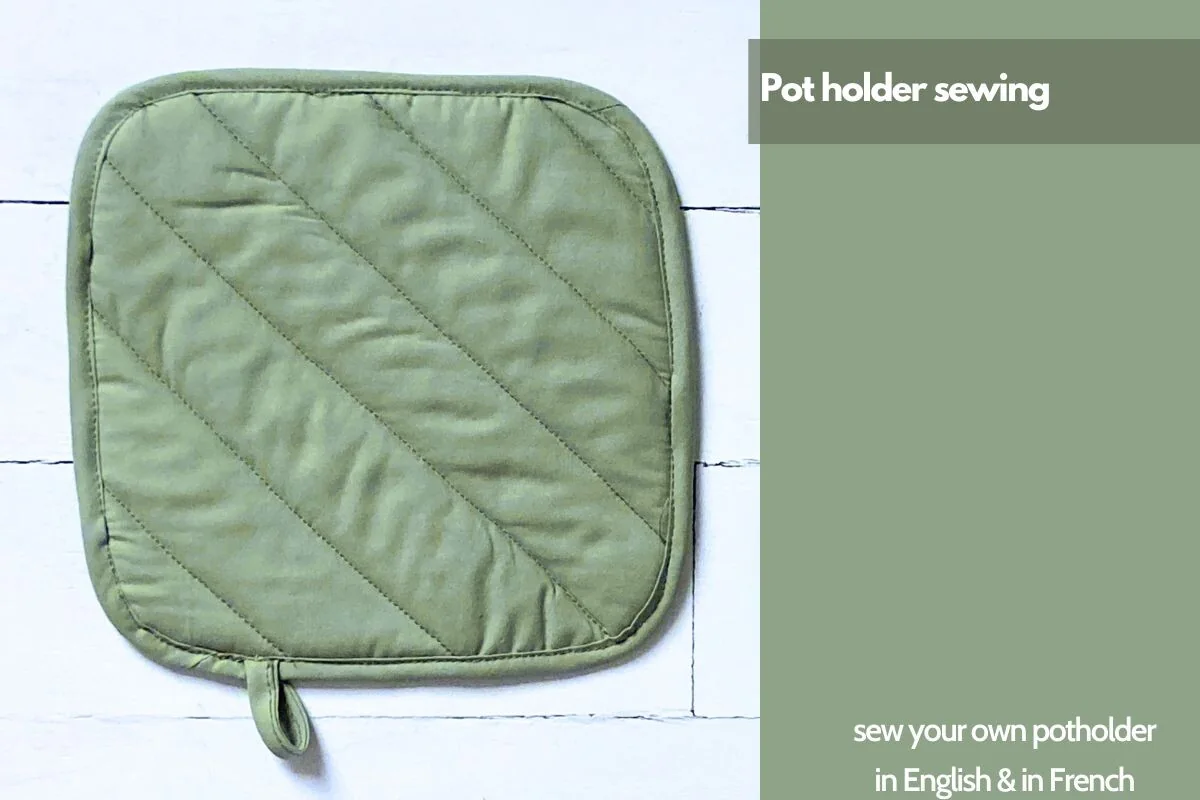
3. Square Potholder Sewing Tutorial
Best for: a first square pot holder with bias binding. Designed by Petit Citron.
- Step-by-step tutorial for a square pot holder
- Fleece, insulating fabric and fleece inside, per the cover
- Thick cotton or denim suggested for the outside
- Quilting lines and bias binding; English and French, per the cover
A beginner tutorial that teaches quilting and bias binding on a simple square. The cover shows an insulating fabric between two layers of fleece, but the fleece's fiber content is not stated; if it is polyester, which can melt, I would use 100 percent cotton batting on both sides of the insulating layer instead.
Quick Comparison
| Pattern | Type | Sizes | Heat layer |
|---|---|---|---|
| 1. House Kitchen Potholder | Pocket pot holder | 2 sizes | Insul-Bright pieces |
| 2. Oven Mitt Sewing Pattern | Oven mitt | One size | Insulating fleece, type not named |
| 3. Square Potholder Sewing Tutorial | Square pot holder | Not stated | Insulating fabric plus fleece |
Pot Holder Sewing Questions
Can I make a pot holder without binding?
Yes. Place the front and back right sides together on top of the battings, sew around the edge with an opening on one side, turn it right side out, then topstitch around the edge to close the gap. Quilting lines through the middle still help the layers stay put.
Why are some pot holders round?
Mostly for looks and for how they fit a hand. A round pot holder needs bias binding, which bends around the curve, while a square can take straight strips with mitered corners.
What is the difference between a pot holder and a hot pad?
A pot holder is held in the hand to grip a hot handle or dish; a hot pad lies on the table under one. The house design has a pocket for the hand, so it works a little like a short mitt. For a pad under a mug rather than a pan, see the mug rug patterns.
Can I wash a quilted pot holder?
Check the care instructions for every fabric and batting in the stack before the first wash. Let it dry completely before it goes back by the stove.
Three Lines to Find in a Listing
Before buying, read the pot holder pattern listing for three things: whether it names a heat-resistant layer, what the finished size is and how the edge is finished. If the first is vague, as on the oven mitt above with its unnamed insulating fleece, the pattern can still be a good shape; plan the heat layers yourself from the batting maker’s directions and buy them with the fabric.
Kitchen pieces that sit near heat raise the same fiber question, so the apron patterns are worth reading with the same eye. More projects are in the home and kitchen section.
You May Also Like
This post contains affiliate links. If you buy through them, I may earn a small commission at no extra cost to you. Learn more.